


Setting Up and Optimizing Your Grinding Process: A Step-by-Step Guide
Building a reliable, efficient grinding process starts with understanding how the system works and how key factors interact. Because every application is unique, it's important to become familiar with how each factor influences the results. This knowledge not only helps you set up your system in the best way possible—it also gives you the tools to find and address areas for improving efficiency and performance.
UNITED GRINDING North America partnered with grinding wheel experts Continental Diamond Tool to provide a step-by-step guide for users to check as they work to set up or optimize their grinding applications. For the purposes of this article, we assume the grinding machine has already been selected. The focus is on optimizing performance within that existing system.
Below are eight factors that most often impact grinding performance. While other variables can play a role, these are typically the most critical. The first five must be defined early in the process, with each decision shaped by the step before it. The final three are indicators to monitor during operation—they signal when the setup may need adjustment. Because all eight are interconnected, a change in one area can affect the rest. For best results, careful consideration at each stage is essential.
FACTORS TO DEFINE EARLY IN THE PROCESS
1. Workpiece.
When you are setting up a new system, start by considering the part you’re trying to produce. Identify the workpiece material and the type of grinding required for the application. Are you using a cylindrical grinder, a surface grinder, or a tool grinder? Does the operation involve OD or ID grinding, roughing or finishing, or tight-tolerance form work? Parameters like these will guide the selection of your grinding wheel and other setup decisions.


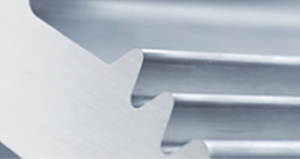
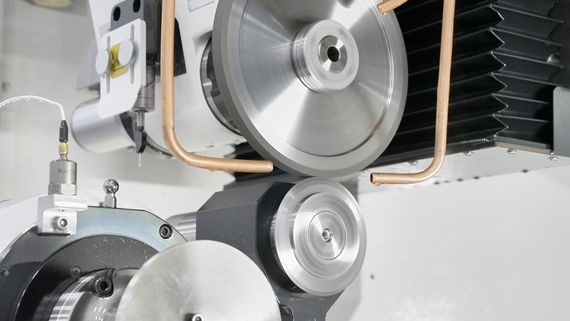
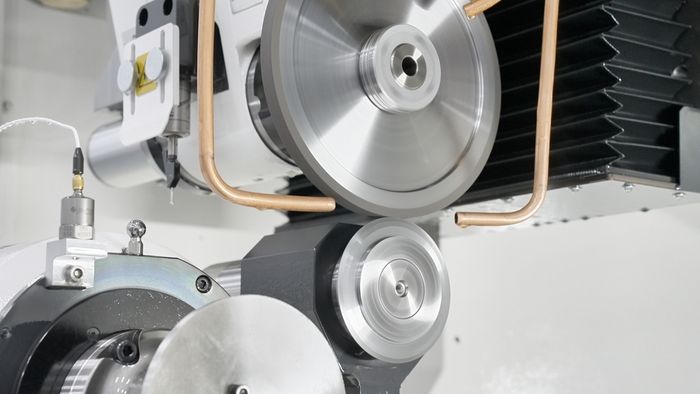
2. Grinding wheel.
Based on the workpiece material and application parameters, we can begin making selections for the grinding wheel: abrasive type, bond system, grit size, wheel core, and more. While there may be multiple viable configurations, the material, machine system, and performance requirements will narrow the options. Once those needs are met, cost often becomes the final determining factor. To learn more about specifying a grinding wheel, check out our last article: Don’t Sleep at the Wheel.

3. Truing and dressing.
All grinding wheels wear over time due to the forces involved in grinding a workpiece. The type of dresser you use will depend on the wheel spec, and how often you dress will be influenced by choices made in later stages of the setup. That said, excessive dressing can signal a mismatch in your setup—potentially pointing to issues with wheel selection, machine settings, or grinding conditions. For a practical example, check out Episode 5 of The Grinding Chronicles, where Continental Diamond Tool demonstrates how to dress a vitrified CBN wheel using a rotary diamond dresser.
4. Speeds and feeds.
Speeds and feeds are core parameters set at the start of the grinding process—and refined over time. Wheel speed should maximize material removal without excessive wear, while feed rate controls how quickly the workpiece travels through the grind zone. Together, they influence part quality, cycle time, and overall efficiency. Roughing and finishing each require distinct Material Removal Rates (MRR), and the grinding wheel and workpiece material help guide starting values. Speeds and feeds are a powerful lever that can help you optimize and boost performance—especially when paired with data-driven analysis. Learn more in The Grinding Chronicles, Episode 8.


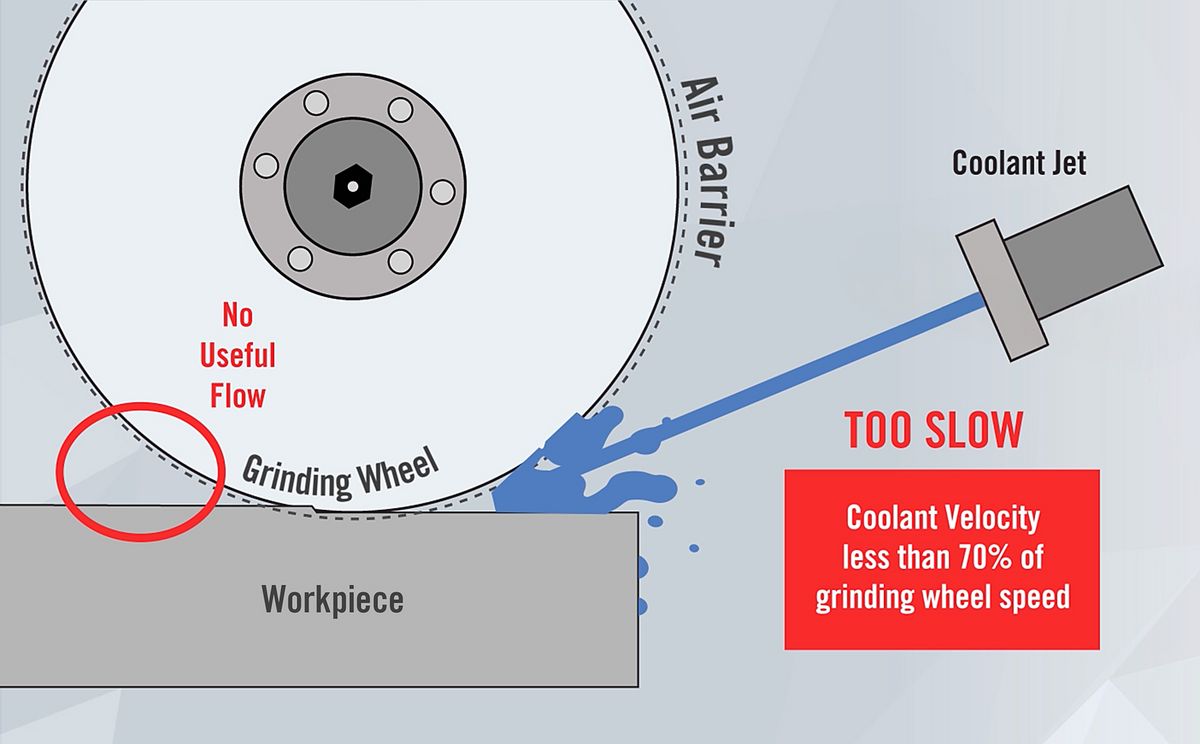
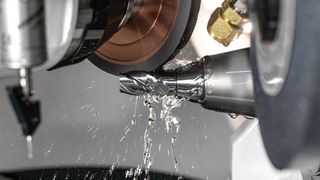
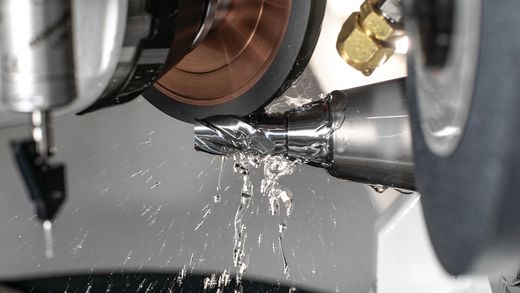
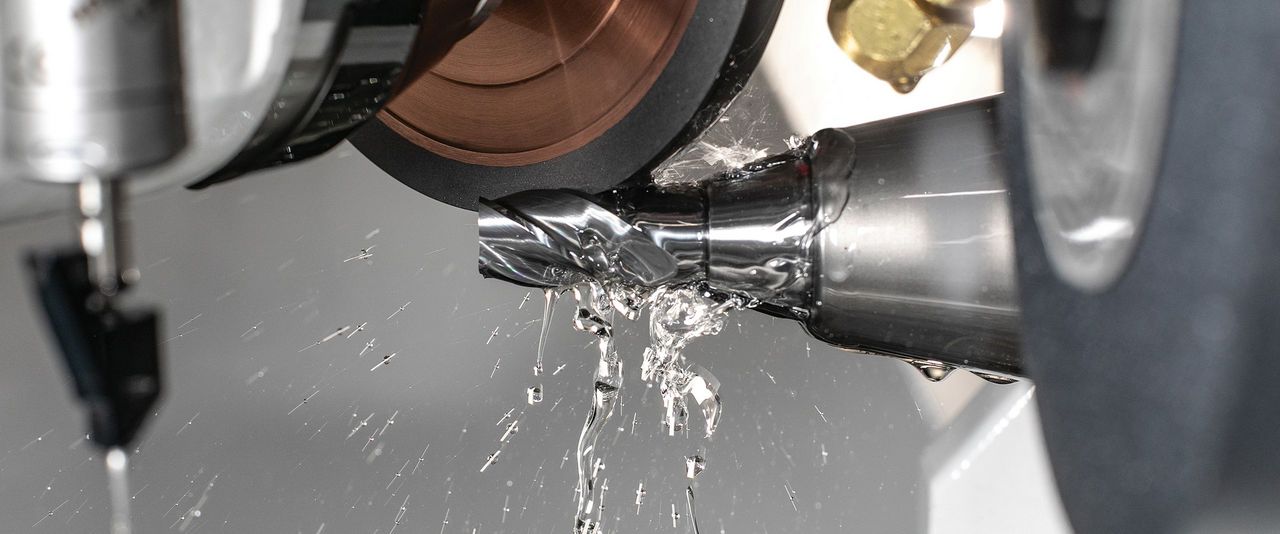
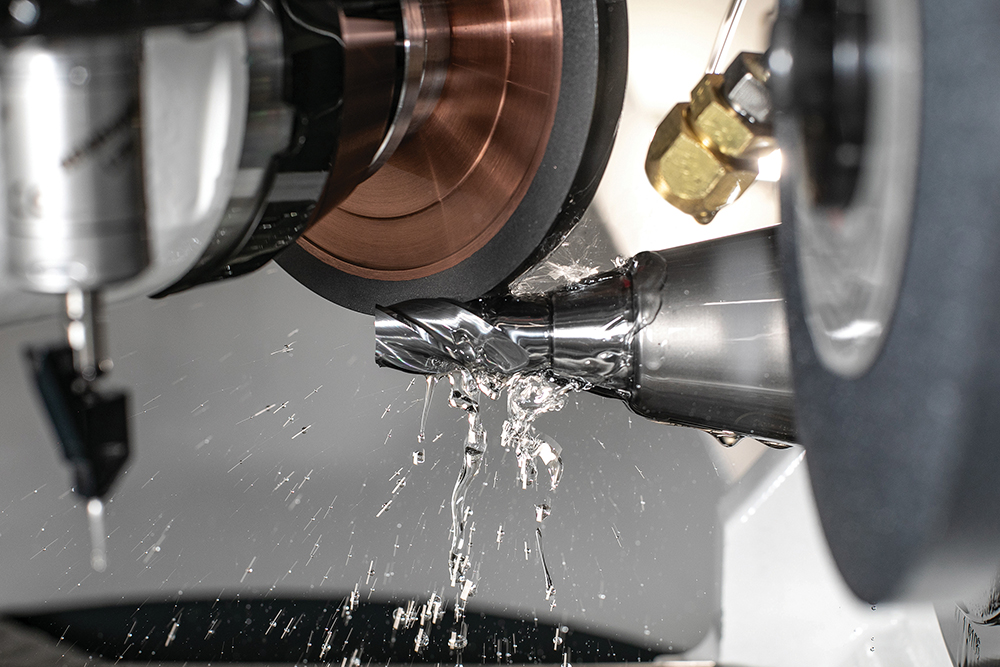
5. Fluid dynamics.
Grinding generates significant heat, so setting up an effective coolant delivery system is essential. Damaged or misaligned lines can prevent fluid from reaching the grind zone, reducing wheel performance and part quality. Surprisingly, sometimes a small tweak to this system is enough to fix an issue—even when coolant isn’t the obvious culprit. Coolant delivery can be checked by comparing nozzle pressure and machine flow rate against expected values. While excess flow mainly affects efficiency, excessive velocity can disrupt coolant penetration and raise temperatures—especially if jet speed exceeds wheel speed. For more on coolant velocity, see The Grinding Chronicles, Episode 3.
WHAT TO MONITOR DURING OPERATION
6. Workpiece/contact temperature.
The temperature at the contact point between the grinding wheel and the workpiece is another indicator of system health. It should stay below 1.5 times the coolant’s boiling point—exceeding this can cause vaporization, reducing cooling effectiveness and increasing the risk of burn. If coolant delivery is dialed in but temperatures remain high, the grinding wheel spec or speeds and feeds may need an overhaul to support production without thermal damage.
7. Profile and Finish.
High cycle times are only beneficial if they don’t come at the cost of scrap parts. While we've discussed the risk of thermal damage, most applications also require strict standards for profile and surface finish. Profile refers to the macro geometry of the part and is driven by wheel spec and wear. As the wheel degrades, the profile may drift—requiring dressing to restore accuracy. With superabrasive wheels, the goal is to maximize durability and minimize the number of parts per dress. Finish, on the other hand, refers to the microtexture or surface quality and is affected by abrasive concentration, grit size, material removal rate (MRR), and wheel speed. A video featuring practical, science-based advice for addressing profile and surface finish is scheduled for release this summer on Continental Diamond Tool’s YouTube channel.


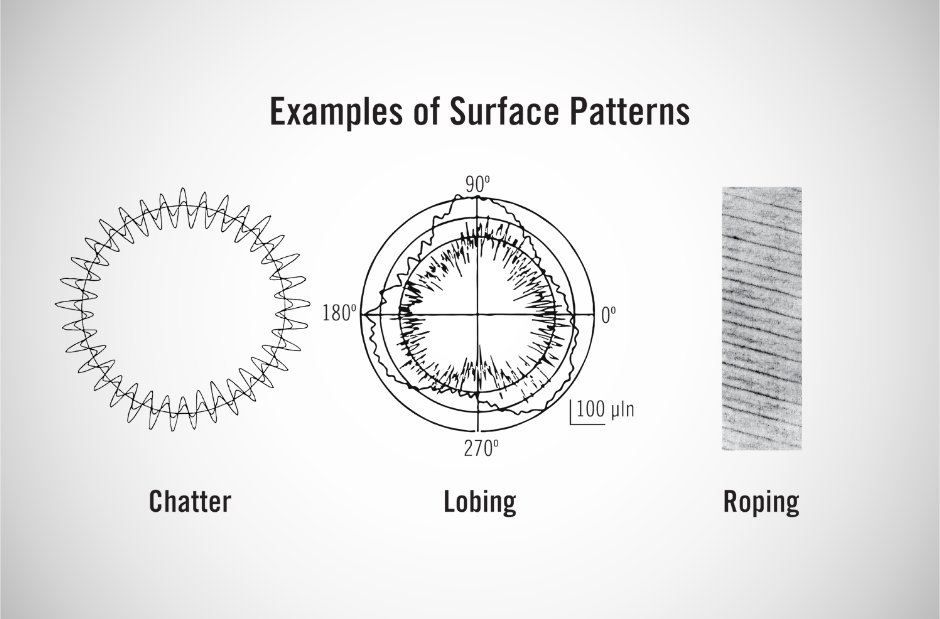
8. Machine dynamics: chatter and vibrations.
If vibration is present—often seen as chatter marks on the workpiece—first determine whether it’s forced or self-excited. Forced vibration comes from external sources and can often be resolved by finding and fixing the disturbance. Self-excited vibration may require a modal analysis to understand and address the system’s dynamic response. Speeds and feeds can influence vibration, and iterative adjustments may help. That said, if chatter continues, it may point to issues in your system—requiring a closer look at the wheel, spindle, machine, and workpiece setup. For more on chatter, watch The Grinding Chronicles, Episode 7.
Need more help?
This checklist above serves as a starting point for grinding process setup, optimization, or troubleshooting. By following it, operators can avoid missing critical factors and gain a clearer understanding of how individual changes impact the entire grinding operation. Careful analysis at each stage can also reveal system constraints—highlighting what’s achievable with the current setup and where further adjustments may be needed.
Request a grinding consultation